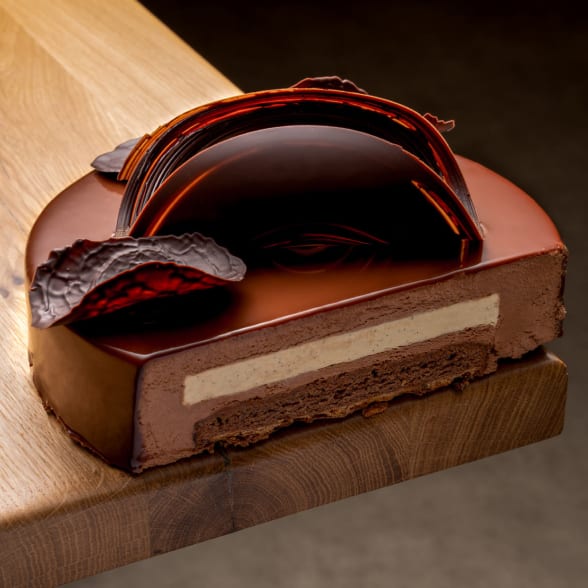
Professional Recipes
Our iconic creations will allow you to renew your offer by revisiting the great classics of pastry-making but also by offering you inspiring recipes to work with the raw material that is chocolate.
Contents :
Tempering chocolate is a classic technique all pastry chefs and chocolatiers will be familiar with. If you want to make homemade chocolates that are as delicious as they are visually appealing, it is important you have a solid grasp of the process.
With the right method and utensils, you will be able to successfully temper your chocolate for beautiful miniature creations, desserts and confectionery.
Tempering chocolate simply means melting the chocolate while controlling how its temperature rises and falls. This technique lets you use the chocolate the way you want to and get the perfect result for all your creations.
By tempering chocolate, we give it properties and qualities that are extremely helpful for pastries, chocolate and confectionery. Good tempering provides the following benefits:
As such, tempering is essential for anyone who wants to make beautiful desserts and chocolates with a smooth, glossy, solid texture. It is important to follow every step in the process to get the results you want. Otherwise, chocolate can become brittle, dull, bumpy, flecked with white marks, and harder to turn out. Successful tempering is the key to successful chocolate making.
Good tempering is a very important way of enhancing your creations. However, you need to know how to do it right. To temper your chocolate successfully, you will need to meet several prerequisites. First of all, you must have a thermometer that can reach 130°F (55°C). This is essential as you will need to check the chocolate’s temperature throughout the process to make sure its temperature is changing as it is supposed to, depending on the chocolate you use.
Moreover, the chocolate you choose is equally important. It’s best to use a quality chocolate such as a couverture. Couverture is richer in cocoa butter and less sweet than the standard chocolate bars you find in shops. It contains at least 31% cocoa butter, making it much more fluid and suited to being handled.
Famous French pastry- and chocolate-maker and Valrhona creative director Frédéric Bau is famous for creating blond Dulcey chocolate. He also founded L’École Valrhona. In his book The Encyclopedia of Chocolate, this top chef explains all the different techniques for tempering chocolate. He gives us three methods: tempering in a bain-marie (the most well-known and simplest technique), seeding and, finally, tabling, which is a little more complicated. We will see in detail the steps involved in each one.
Your chocolate’s maximum temperature depends on its type and which step in the process you are on. For example, dark chocolate should be melted between 120 and 130°F (50°C and 55°C), while milk and white chocolate should melt at around 105-115°F (40-45°C).
Here is a summary of the temperatures for successfully tempering chocolate.
| Temperature | Dark chocolate | Milk Chocolate | White chocolate and Dulcey |
|---|---|---|---|
| Temp #1 | 122°F (50°C) – 131°F (55°C) | 113°F (45°C) – 122°F (50°C) | 113°F (45°C) – 122°F (50°C) |
| Temp #2 | 82°F (28°C) – 84°F (29°C) | 81°F (27°C) – 82°F (28°C) | 79°F (26°C) – 81°F (27°C) |
| Temp #3 | 88°F (31°C) – 90°F (32°C) | 84°F (29°C) – 86°F (30°C) | 82°F (28°C) – 84°F (29°C) |
This classic technique is the easiest to do. It involves melting (chopped) chocolate in a bain-marie while stirring and regularly checking the temperature. However, be careful not to drop any water in the chocolate - just a few drops are enough to spoil the lot. To temper your chocolate this way, you will need the following:
You need to initially check the temperature so that it does not rise above the maximum for the type of chocolate (see Temperature 1 in the above temperature chart and table).
This second technique is also quite simple. It involves chopping the chocolate into small pieces (smaller than the individual squares of a chocolate bar), unless you use drops, in which case this step isn’t needed.
The utensils for seeding are as follows:
Once you have made sure you have everything you need, you can start tempering. The following steps must be followed:
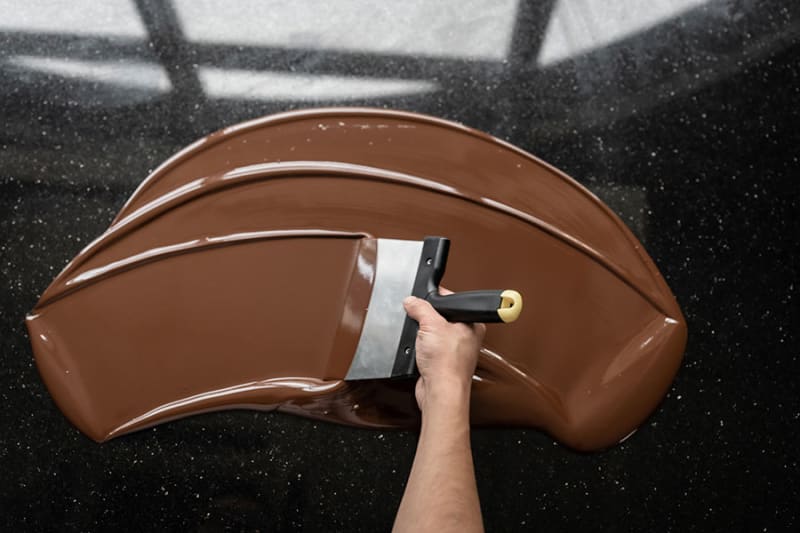
Frédéric Bau’s third method is called “tabling”. It is the least simple as, in principle, it requires a marble worktop.
This technique is interesting but not suitable for all kitchens.
There are other methods for tempering chocolate which vary in terms of simplicity and expense. It all depends on your skills, equipment, motivation levels, but also your budget.
It is totally possible to make these methods your own and adapt them to your preferences, utensils, likes and dislikes. You can combine seeding with bain-marie techniques by first melting three-quarters of the chocolate.
The remaining (solid, finely chopped) quarter can then be incorporated off the heat, which will cause the temperature to drop. Warm the chocolate up again in the bain-marie.
Tempering machines are very convenient for people who have to temper chocolate regularly, as they make it impossible to fail. In a tempering machine, couverture chocolate will automatically go through each temperature in the process, giving you perfect results without you having to do a thing.
As such, it saves a lot of time in the kitchen, especially if tempering is something you do regularly. With this device, your chocolate preparations can’t go wrong.
Chocolate, and couverture chocolate in particular, is made up of fat. The aim of tempering is to help chocolate reach a series of different temperatures. When we do this, we separate out the various molecules that make up the chocolate, before reassembling them in perfect order to give the chocolate a glossy shine.
Specifically, chocolate goes through three stages:
As you can see, temperature control is the most important aspect of tempering.
Chef's tip: The results will be even better if you keep the chocolate melted at Temperature 1 for an extended period of time (up to several hours).
Our iconic creations will allow you to renew your offer by revisiting the great classics of pastry-making but also by offering you inspiring recipes to work with the raw material that is chocolate.

Are you a pastry lover? Let yourself be tempted by Valrhona's chocolate creations. Our detailed iconic recipes will guide you step by step through the design of your chocolate pastry.
You are using an outdated browser. Please upgrade your browser to improve your experience and security.